Forem Setup Checklist
important
We're in the middle of some fast-moving changes to the Forem Admin experience, so we've paused documentation updates for the time being. You may find that the docs are now outdated in parts. If you have any questions, please visit forem.dev to request additional support. We thank you for your patience and hope you're liking the changes!
Introduction to the Forem Admin Docs#
This documentation is meant to guide folks who have launched and are managing a Forem community.
Using these docs, you'll learn:
- how to get yourself set up as the first user of your Forem
- how to customize the appearance of your Forem
- how to use moderation tools to keep your community healthy
- how to wield a variety of other features to enhance the experience on your Forem
important
NOTE: this guide does not offer development guidance for setting up a Forem. For those who have yet to install the app that are hoping to self-host, please check out our Forem Selfhost Installation Documentation. If you would like to contribute to Forem as a developer, please read our Forem Developer Documentation.
Getting Started with Forem Checklist#
This checklist is for brand-new Forems. Whilst every configuration you make to your Forem can be revised at a later stage, we have intentionally written the following information for brand-new Forems and their admins, so some information may not apply for existing Forems.
Click on the arrow beside an item from the checklist to expand it.
1. Set up and configure your Forem
1. Set up and configure your Forem#
Upon installing your Forem, you will be prompted to join it. As the first user, you will be given Super Admin privileges which will allow you to configure your Forem. Click here for more information about different user roles.
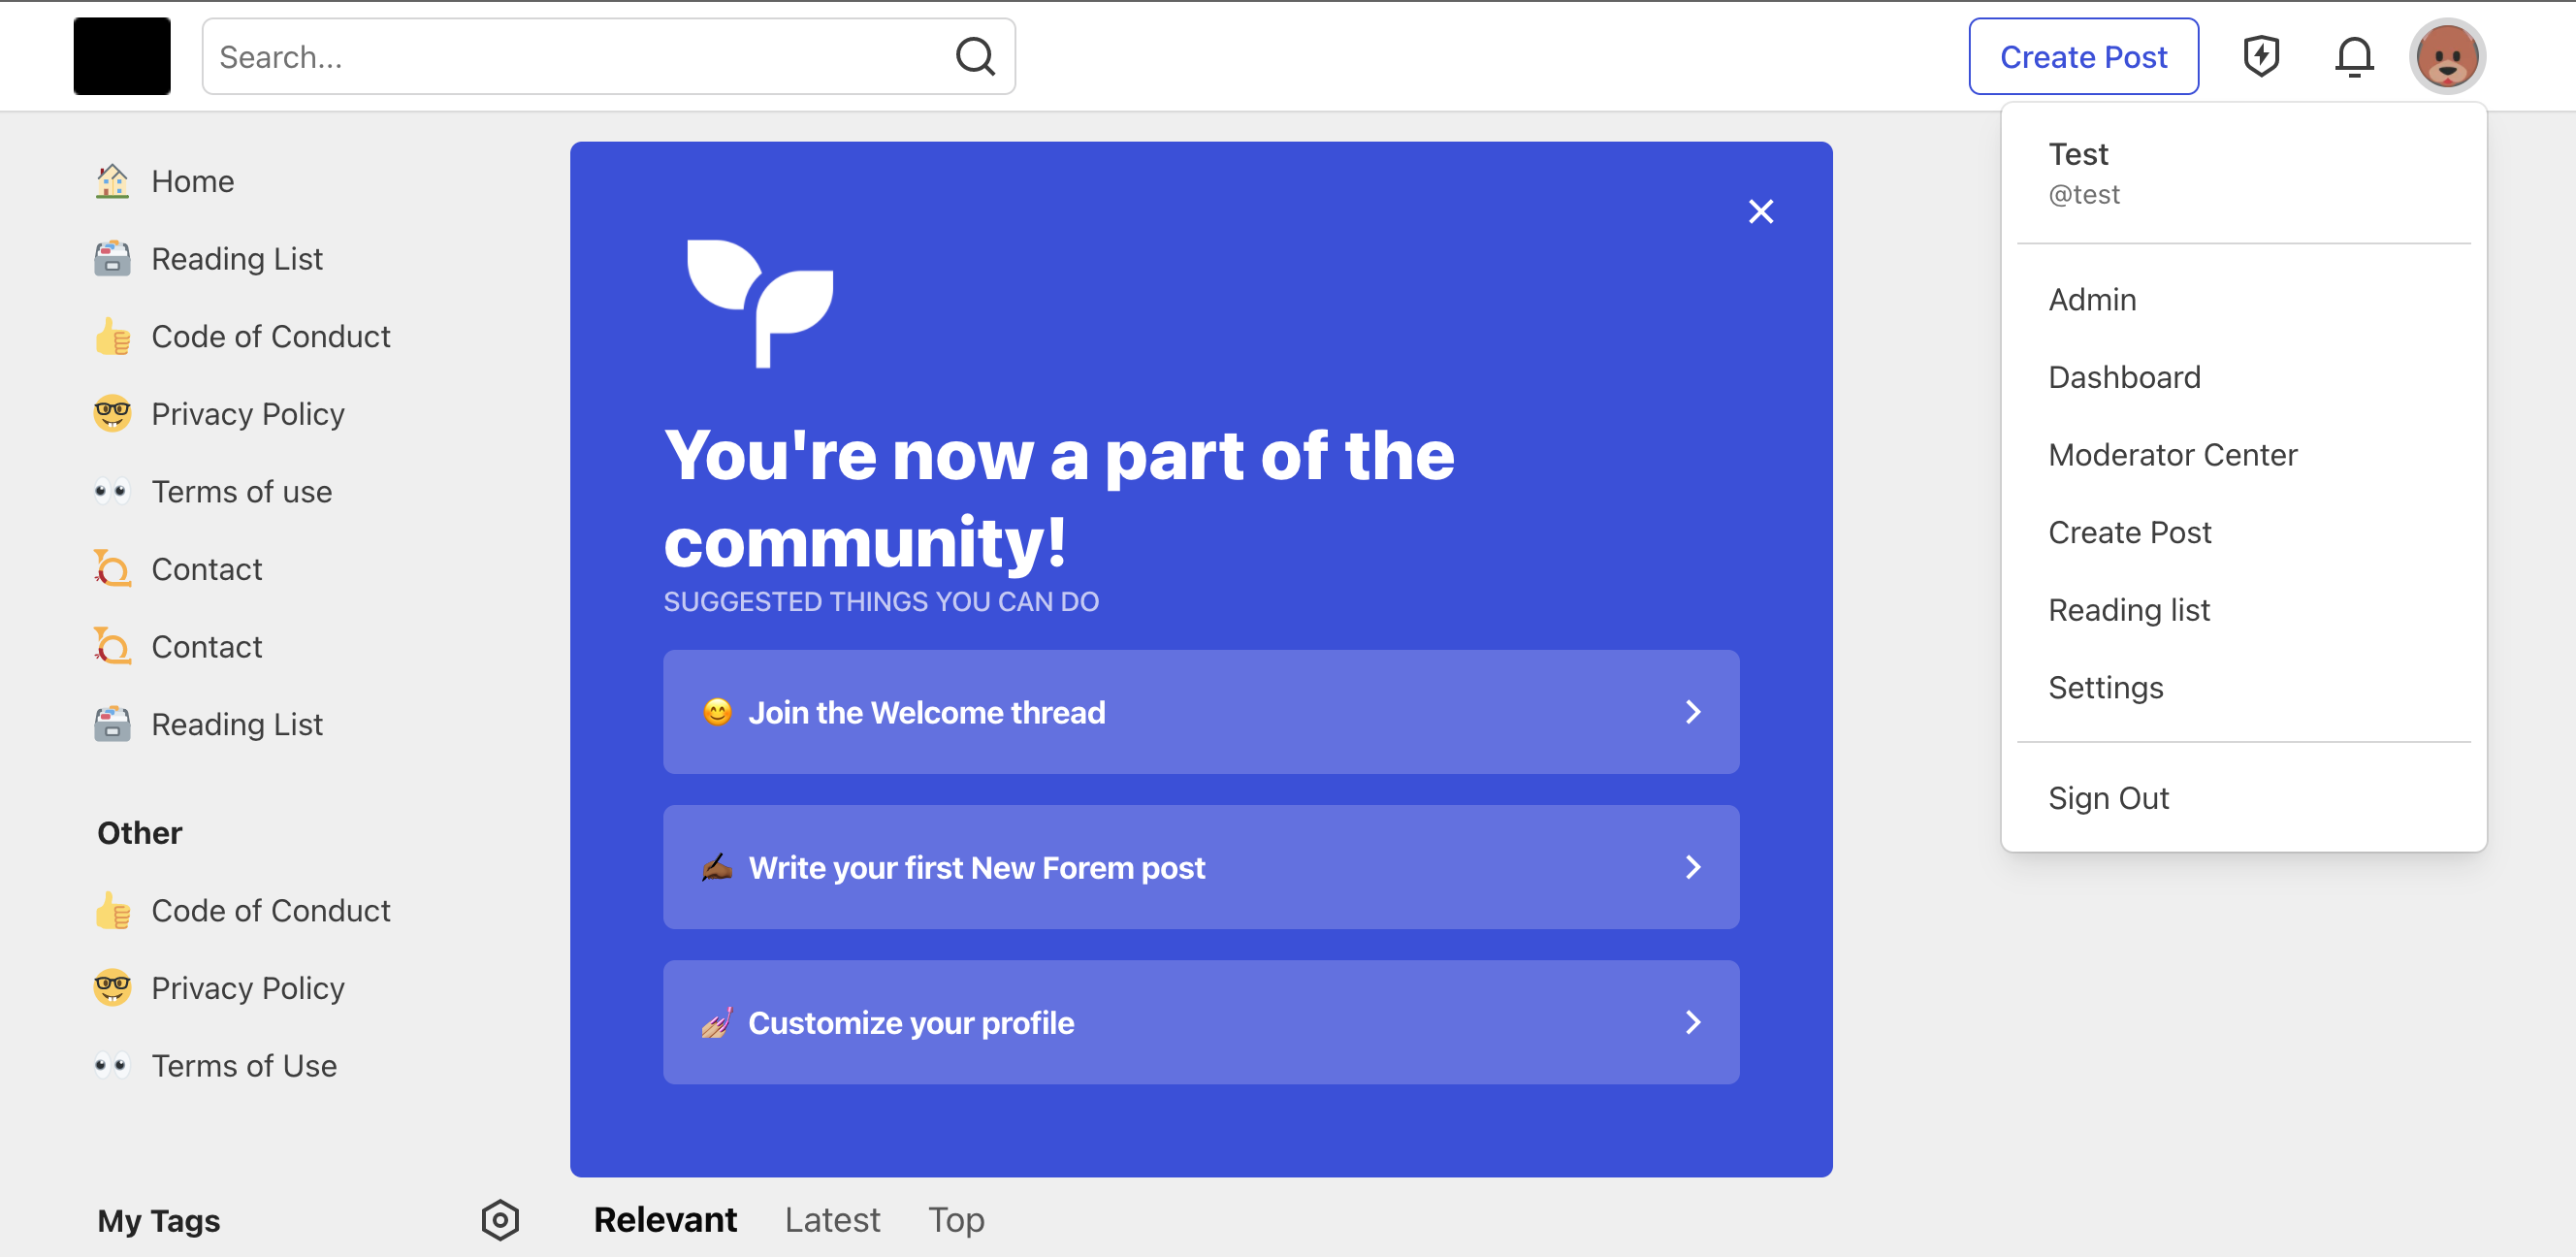
Navigate to your Admin Portal by appending /admin to the homepage URL of your Forem (e.g. dev.to/admin) or selecting Admin from the dropdown menu under your profile image at the top-right of your screen.
You will see the Admin Navigation sidebar menu on the left side of the Forem Admin landing page. This is where you will find all your Forem Admin tools and features.
Navigate to /admin/customization/config using the Admin Navigation menu.

Once in Config, we recommend you navigate down the page to these sections, which will allow you to set up the bulk of your design options, like choosing your logo, primary brand color, community name, etc. Clicking each link will take you to the relevant page in these docs, to continue to complete your customization process:
- Community Content
- Community name
- Tagline
- Community description
- Images
- Logo
- Secondary Logo
- Favicon
- Onboarding
- Suggested tags
- Suggested users
- User Experience and Brand
- Primary brand color hex
- Public
- Display in Directory
2. Create a Welcome Thread
2. Create a Welcome Thread#
We always recommend that Forem admins set up a Welcome Thread early on. The thread acts as a gathering point for new members of your community to meet each other, introduce themselves, and ask questions when first logging onto your Forem.
You can either set up a Welcome Thread just once and use it to welcome all folks who join your Forem, or you can regularly create new welcome threads to greet new members in batches. It’s up to you!
The "official" Welcome Thread is always the most recent post published under the #welcome tag by the Site Staff User. Your Site Staff User is set to your First User by default but can be changed at any time by adjusting the Staff User ID under Community Content in /admin/customization/config.
To create your Welcome Thread, ensure you’re logged into the account that is set as Site Staff User. From the homepage of your Forem, click the Create Post button in the top right-hand corner. You can say anything you want in the Welcome Thread, as long as you include the #welcome tag.
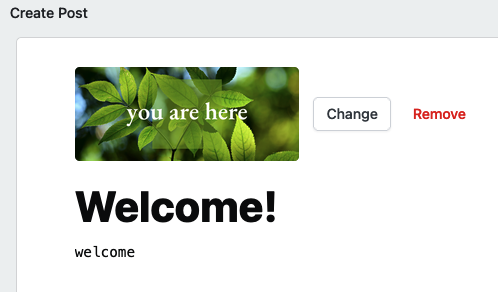
Tip: the most recent post with a cover image will show at the top of the feed until another post with a cover image is published, no matter how many posts are published after it without cover images. Use a cover image on your Welcome Thread for the best new user experience.
Now, if you append /welcome to your Forem’s URL, you should navigate straight to the Welcome Thread. For inspiration, here’s what forem.dev’s welcome thread looks like.
3. Update and customize your Forem tags
3. Update and customize your Forem tags#
Any user on your Forem is able to create a tag by including it on their post and saving the article. The difference between these tags and those you create as Forem admin is that organically-created tags are the most basic version with no custom options enabled.
As a Forem admin, you can create tags directly from the Admin Portal. Navigate to /admin/content_manager/tags
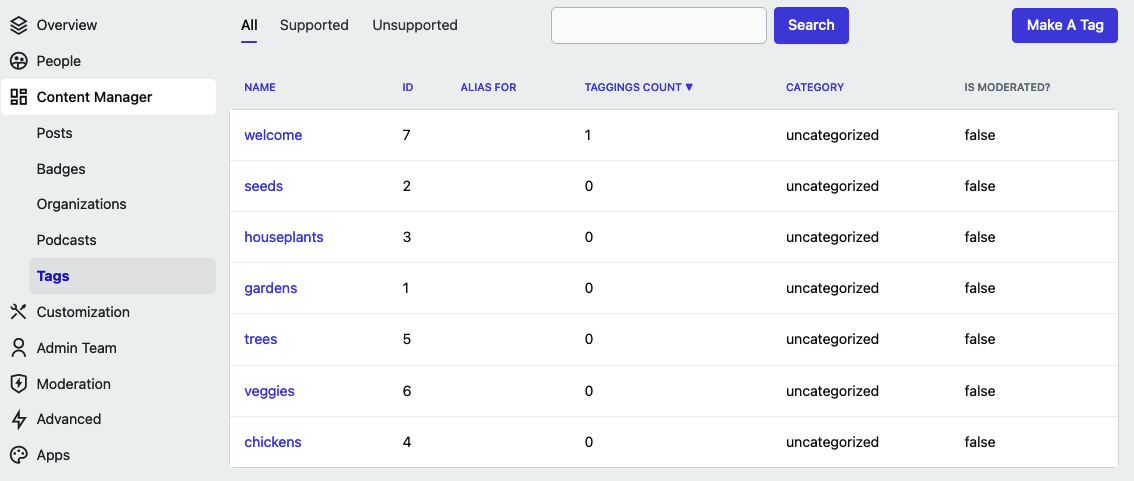
From here you can manage and edit your tags, as well as create new ones. Click the Make a Tag button in the right-hand corner.
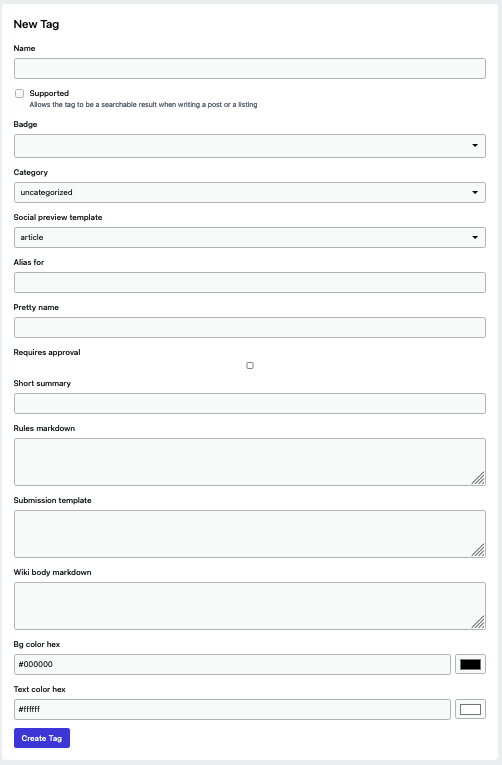
You’ll be presented with a number of options to customize your tag. Most importantly, selecting Supported will recommend this tag to users via predictive text when they are adding tags to their posts.


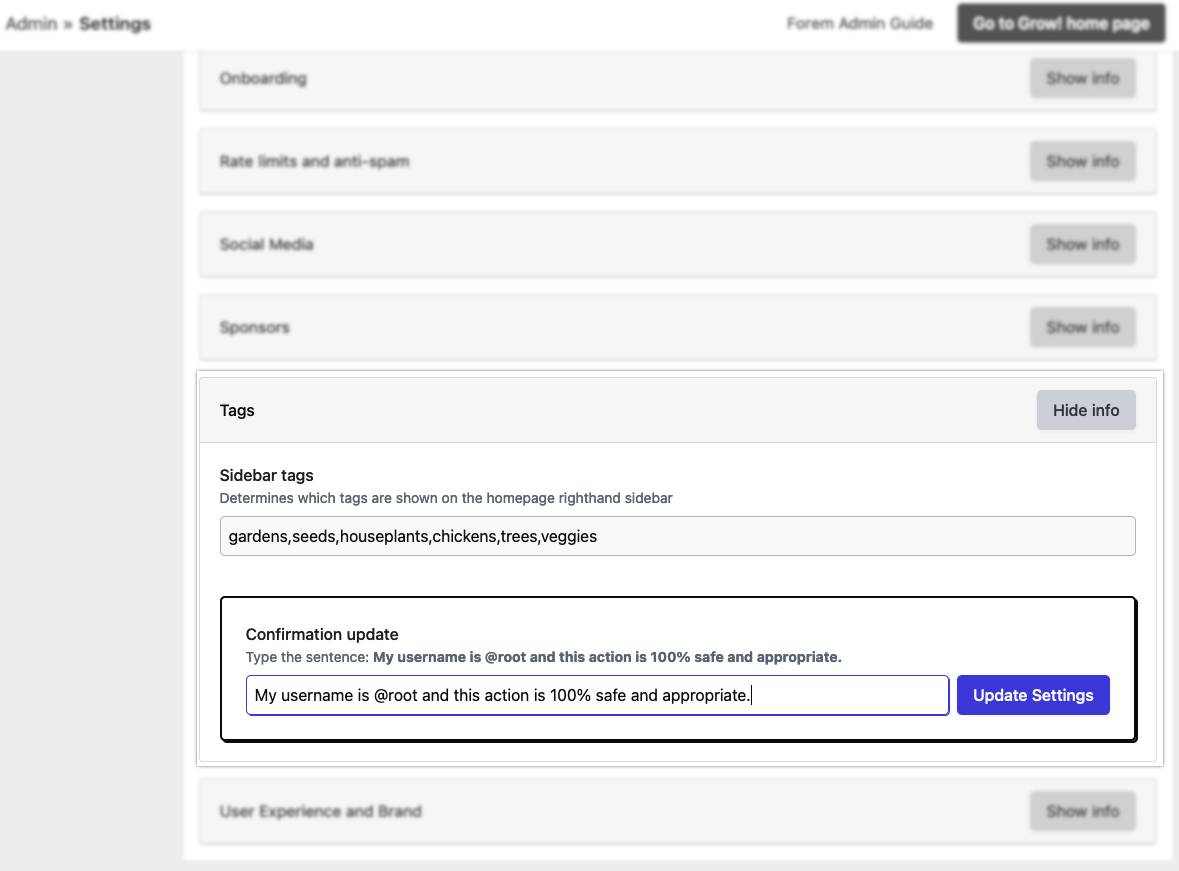
Once you’ve created a handful of tags, you can pin them to the right-hand side of your homepage by navigating to Tags in /admin/customization/config. You should see an option to add Sidebar tags — these tags will appear in the order which you designate, top-to-bottom.
4. Create Pages and Sort Them in the Navigation Sidebar
4. Create Pages and Sort Them in the Navigation Sidebar#
Navigate to /admin/customization/pages to create and modify pages.
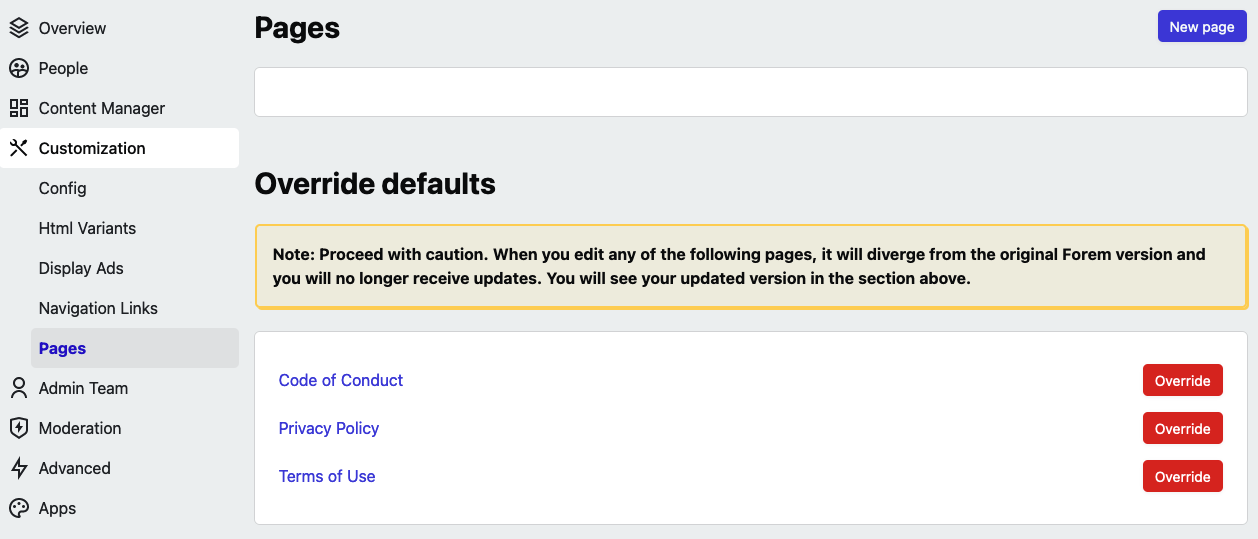
Notice that beneath the Override defaults section there are a number of pages that come default with Forem. If you modify these pages, they will no longer be updated with newer Forem versions.
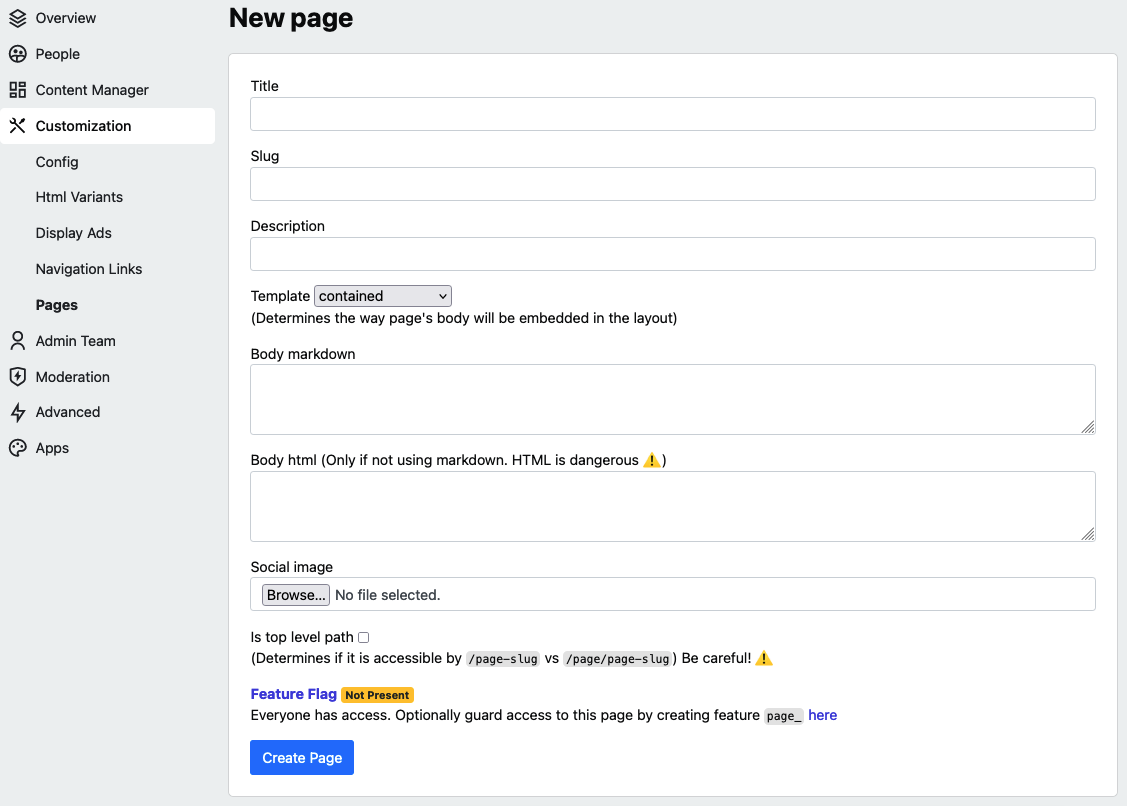
You can add pages by clicking New page in the top right-hand corner. This is particularly useful for creating custom pages like an About page, a Contact page, or any number of authoritative pages.
Once you’ve created your pages, go to /admin/customization/navigation_links to add left-hand sidebar links on your homepage that will help folks discover these pages.
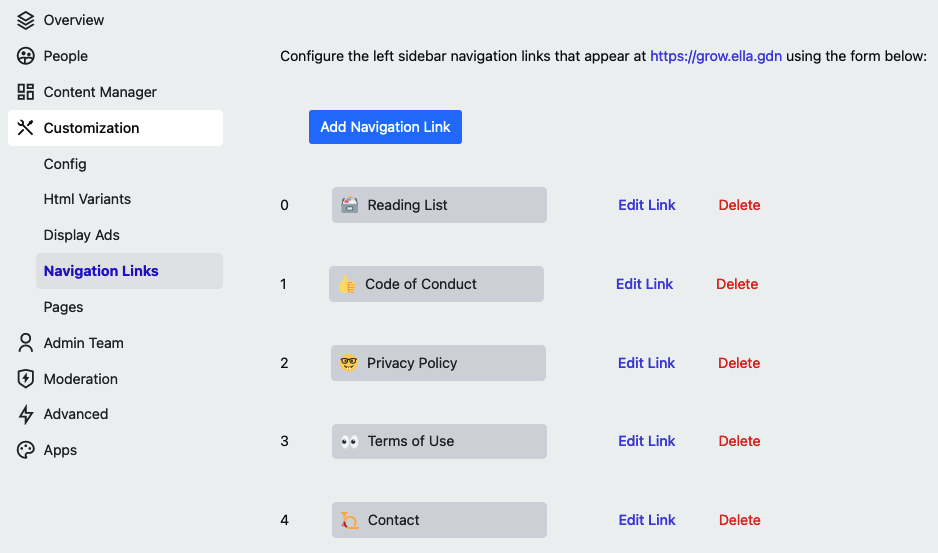
Click Add Navigation Link and follow the prompts to create your nav links for your pages.
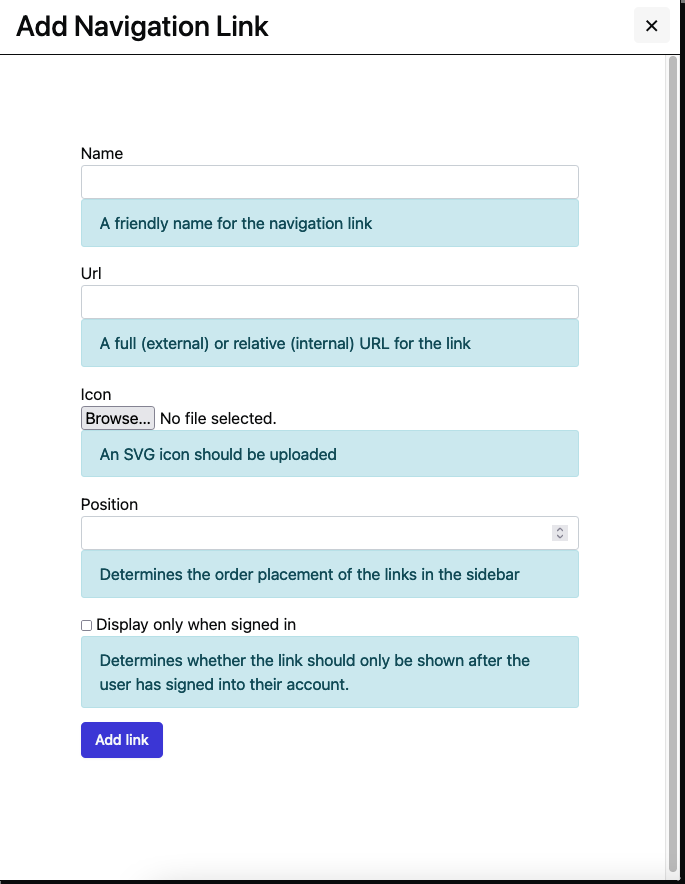
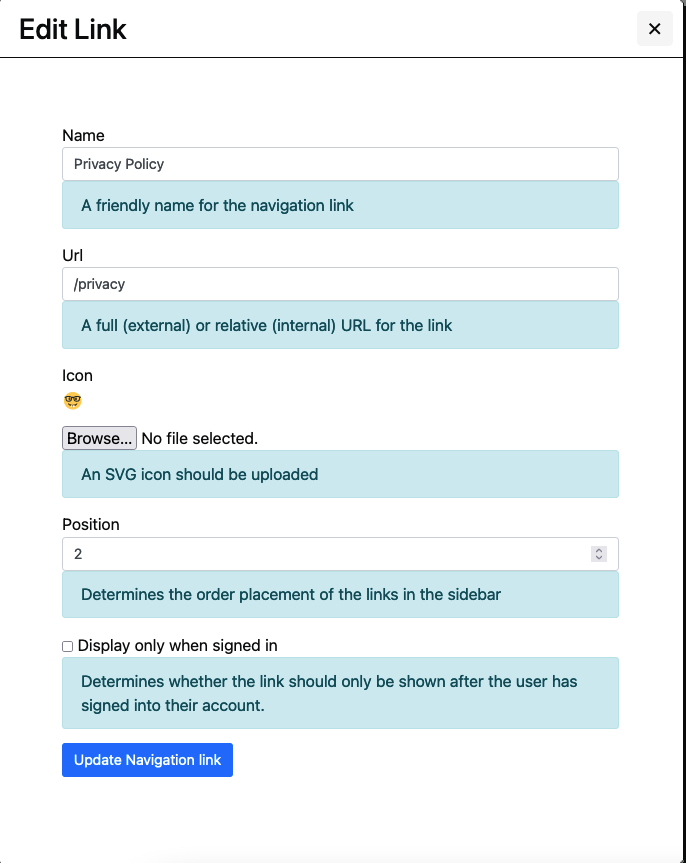
Once you’ve created all the Navigation Links, you can edit each one to customize their position in the list, starting with 0.
5. Set your Forem's access level and invite people to join your community
5. Set your Forem's access level and invite people to join your community#
To begin with, open the User Experience and Brand section at the very bottom of the admin/customization/config page. If you'd like your Forem to be viewable by unregistered visitors, ensure the Public box is checked. If you only want registered members to be able to view content on your Forem, ensure the Public box is unchecked.
Navigate to Authentication in /admin/customization/config and configure your authentication options.
If you want your community to only allow people to join if you manually invite them, keep Invite-only mode checked. In order to send invitations, you will need to have your Email Server Settings (SMTP) configured for your Forem. Without Email Server Settings, your Forem will not be able to send invites, notifications, digests, or admin confirmations.
If you choose this option, you’ll need to navigate to https://dev.to/admin/invitations and click “New” (which should appear as a tab also near the top of the page beside “Invitations”). From here, you’ll be able to invite new members to join your Forem.
If you choose to make your community Open Registration via email and other registration options, you’ll be prompted to set up each registration option.
We’re Just Getting Started#
These are just the beginning steps for setting up your Forem. Now that you have the bare essentials, we recommend that you experiment with the site a bit and return to these docs as needed. If you have any questions, please check out our FAQ first, give other sections of this documentation a quick read, and don’t hesitate to post under #help on forem.dev, our meta-Forem for offering support to Forem creators.